

How to measure and weigh a package for shipping
Measure the finished parcel, understand why size matters and keep a repeatable packing record before comparing shipping rates.
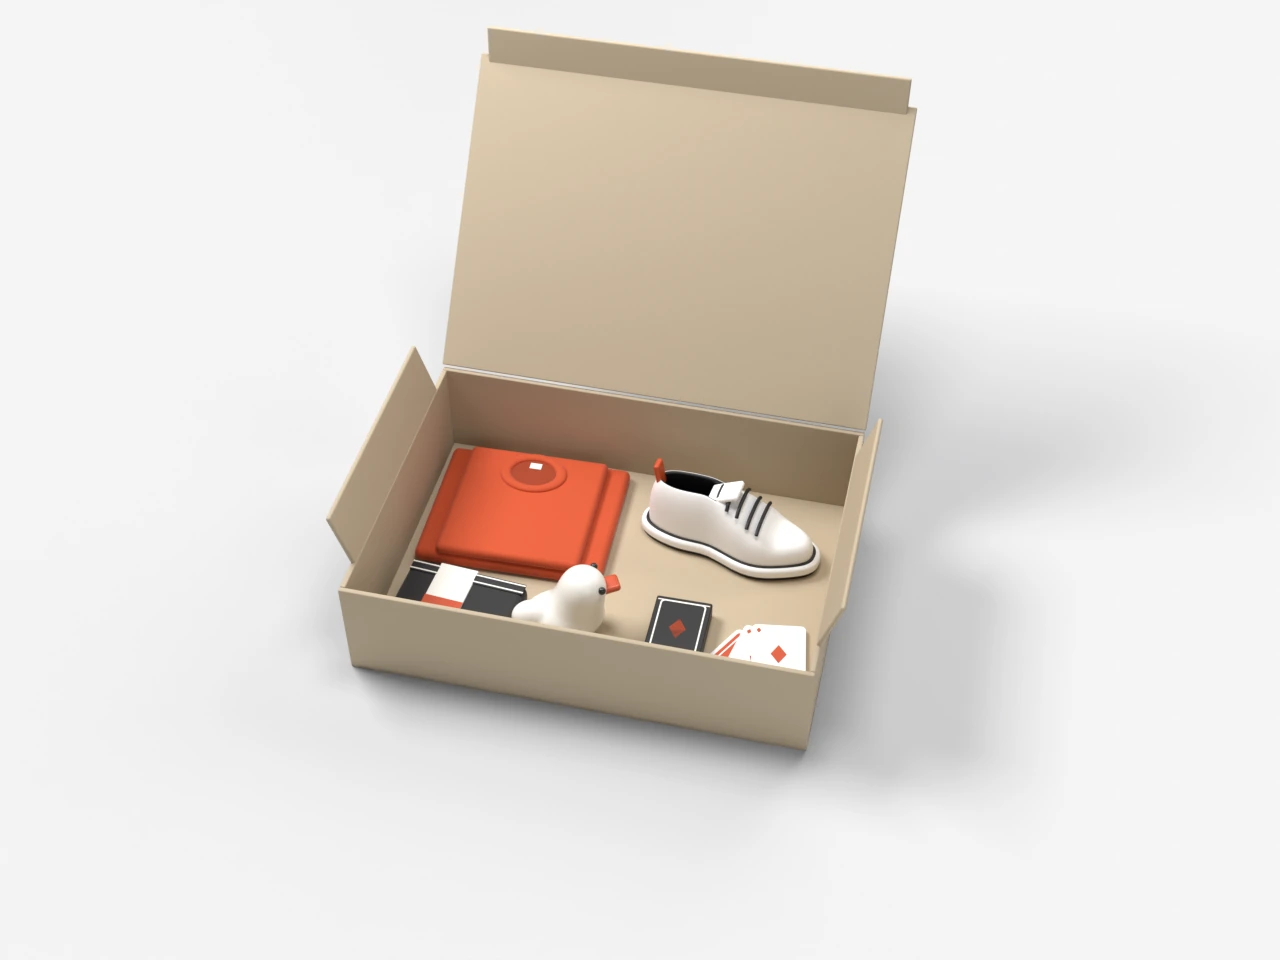
A product’s listed dimensions are not the same as a shipment’s dimensions. The carrier receives the finished parcel, including the box or mailer, padding, tape and anything else you put inside. Measure and weigh that finished parcel before comparing rates or purchasing shipping labels.
Pack first, then measure
Choose packaging that protects the item and close it as it will travel. Include inserts and cushioning. A box that bows outward or a mailer that bulges around its contents needs to be measured in that final shape.
Use a stable, flat surface. Record the outside length, width and height at the parcel’s furthest points. Keep the raw measurements in your packing notes and apply the selected service’s measurement and rounding rules when entering shipment details. Do not round down to reach a cheaper quote.
Weigh everything that will ship
Place the packed parcel on a suitable shipping scale. Check that the scale starts at zero and that the entire parcel is supported. Record the displayed unit with the value. A number without a unit is an easy source of mistakes when an order system accepts pounds and ounces in different fields.
For repeat products, a saved package profile can be a useful starting point. Recheck it when you change the box, add an insert, combine items or alter the cushioning. A profile for a single item does not automatically describe a two-item order.
Understand dimensional weight
Dimensional weight relates a package’s outside volume to a weight used for pricing. It can matter when a parcel is large relative to its actual weight. The applicable threshold, divisor, rounding rules and exceptions depend on the carrier and service, so use the current service rules rather than one formula for every shipment.
For example, current USPS Ground Advantage guidance describes dimensional pricing for parcels larger than one cubic foot, or 1,728 cubic inches. Its calculation divides length × width × height by 139 and compares the result with actual weight. USPS also specifies how to round measurements. See the commercial mailing standards for the detailed rules and exceptions. Check those sources again when the service or pricing rules change.
A simple volume comparison
Consider two hypothetical rectangular boxes with whole-inch dimensions:
| Box | Outside dimensions | Volume |
|---|---|---|
| A | 12 × 10 × 8 inches | 960 cubic inches |
| B | 16 × 12 × 10 inches | 1,920 cubic inches |
Box B has twice the volume of Box A. That does not mean its shipping price is exactly twice as high. It means the two boxes are materially different inputs to a quote, even if they contain the same product. This example is a volume comparison, not a carrier price or a recommendation to use insufficient packaging.
Record a repeatable packing setup
For each common shipment, keep the packaging name, outside dimensions, packed weight, units and a short description of the contents. Store different configurations separately. A photo of a correctly packed example can help your team repeat the setup, but it does not replace weighing and checking parcels when the contents change.
Before printing, check that the selected package record matches the parcel on the table. Use the shipping label checklist for the remaining checks, then compare rates using the same package details.
Boxmile compares shipping labels using shipment information. Accurate inputs make the resulting comparison more useful and reduce avoidable corrections later.